Build a chat bot
Use the XMTP Bot Starter project to create chat bot on the XMTP network.
Usage
// TODO: this isn't actually published yet.
import run from "@xmtp/bot-starter";

// Call `run` with a handler function. The handler function is called
// with a HandlerContext
run(async (context) => {
  // When someone sends your bot a message, you can get the DecodedMessage
  // from the HandlerContext's `message` field
  const messageBody = context.message.content;

  // To reply, just call `reply` on the HandlerContext.
  await context.reply(`ECHO: ${messageBody}`);
});
Keep the same address (the KEY environment variable)
By default, your bot will have a new address every time you start it up. That's ideal. If you have a private key, you can encode it to a hex string and set the KEY environment variable. Your bot will then use this key to connect to the network.
Don't know how to create a private key? Here's how to do it with ethers.js:
import { Wallet } from "ethers";

const key = Wallet.createRandom().privateKey;
console.log("Set your environment variable: KEY=" + key);
XMTP environment (the XMTP_ENV environment variable)
By default, the bot connects to the dev network. If you want to connect to production, specify XMTP_ENV=production.
More bot resources
Want to use a GUI to create a chat bot? Check out chainjet.io.
For example, when a user sends a message to
gm.xmtp.eth, a message bot built with ChainJet sends an automatic reply. You can configure your bot to provide onboarding information or an easy way for a user to send and receive their first messages with your app.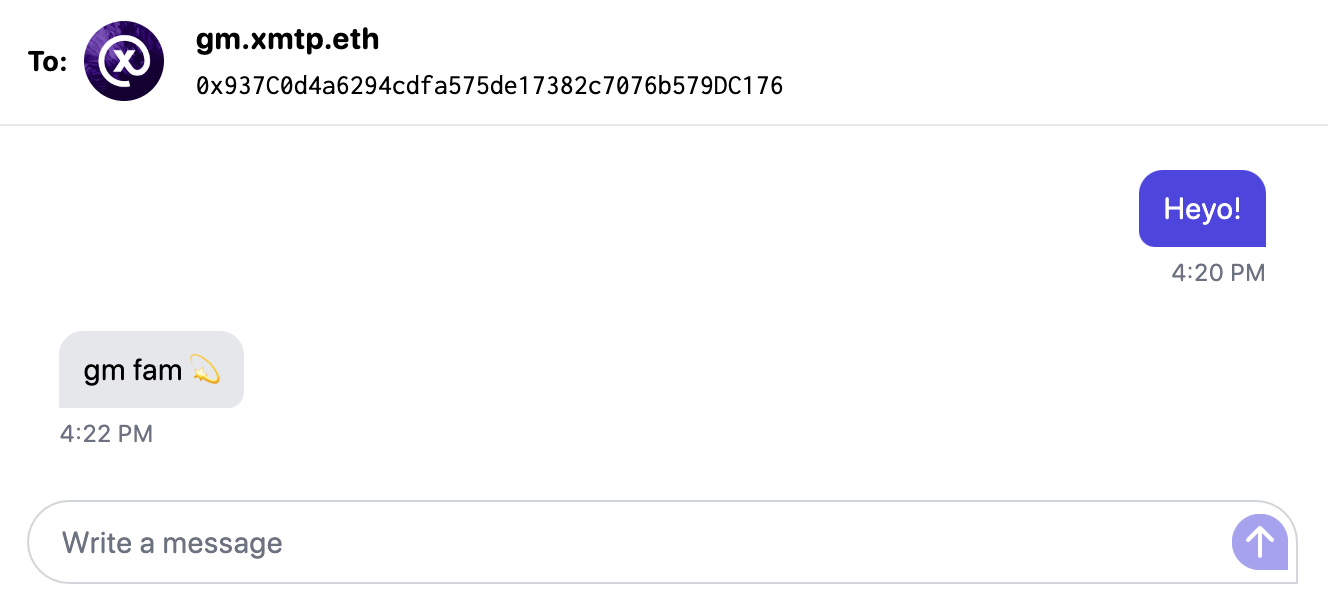
Need someone to send a test message to? Try these addresses:
gm.xmtp.eth(0x937C0d4a6294cdfa575de17382c7076b579DC176)Message this XMTP chat bot to get an immediate automated reply.
hi.xmtp.eth(0x194c31cAe1418D5256E8c58e0d08Aee1046C6Ed0)Message the XMTP Labs team and a human will reply, though not as quickly as
gm.xmtp.eth! 🤖
